Floor Plan to 3D Converter
Upload a 2D floor plan and turn it into a polished 3D visualization.
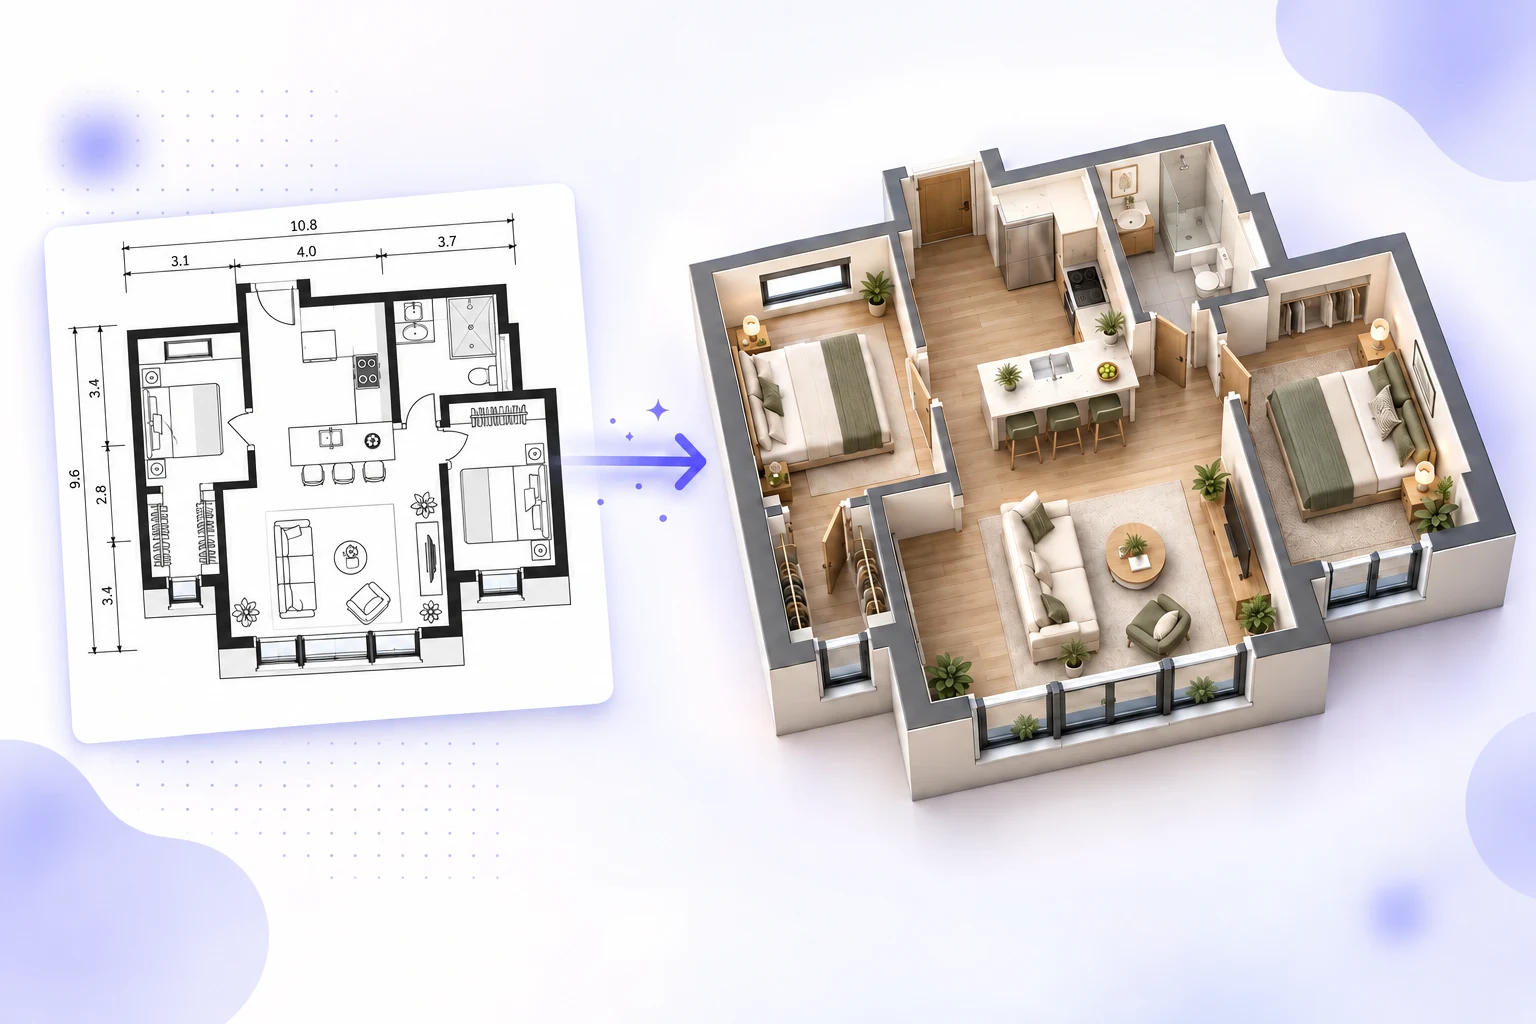
How to Convert a 2D Floor Plan to 3D
Use our floor plan to 3D converter to turn an existing 2D layout into a 3D visualization in three simple steps.
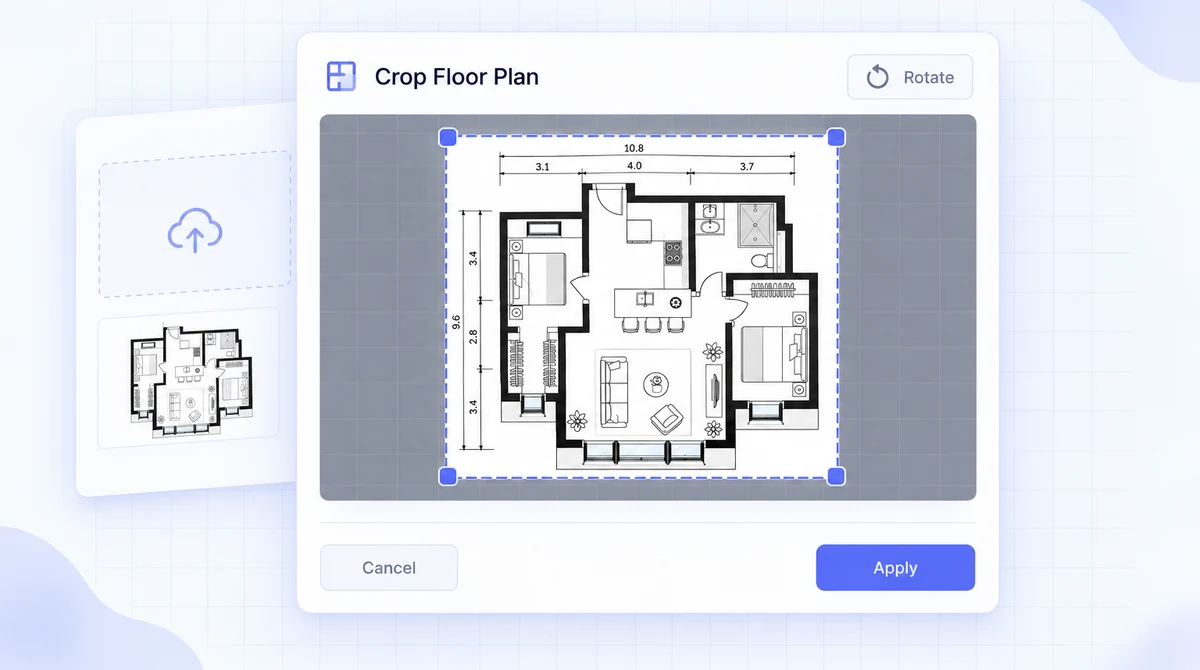
Upload and Crop Your Floor Plan
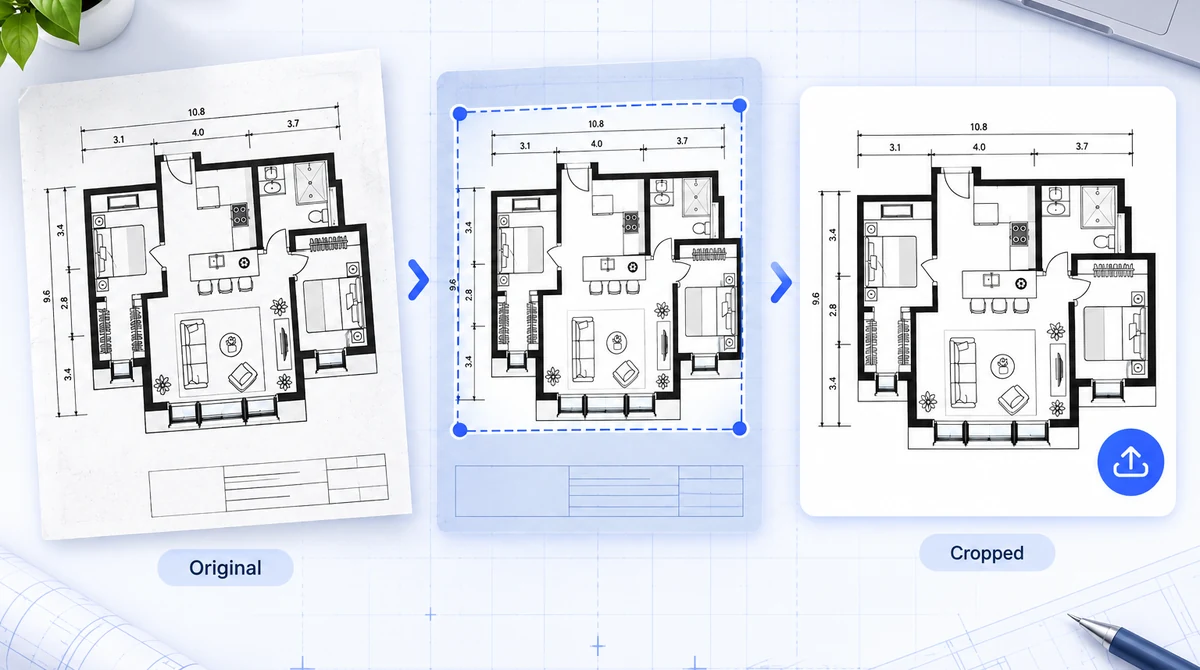
Upload a JPG, JPEG, PNG, or WebP floor plan up to 10 MB. Crop out empty margins, title blocks, and unrelated notes, then rotate the image if needed so the layout is clear and centered.
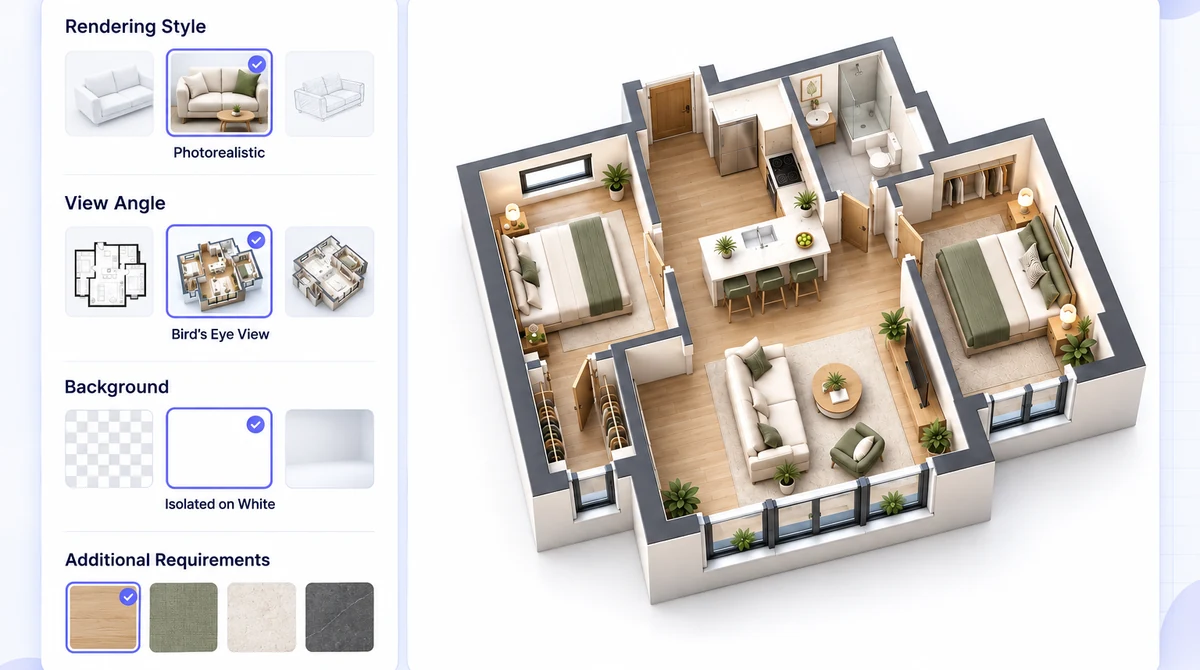
Customize the 3D View
Choose a rendering style, view angle, background, and model. You can also add instructions for furniture, materials, colors, lighting, or specific rooms you want to emphasize.
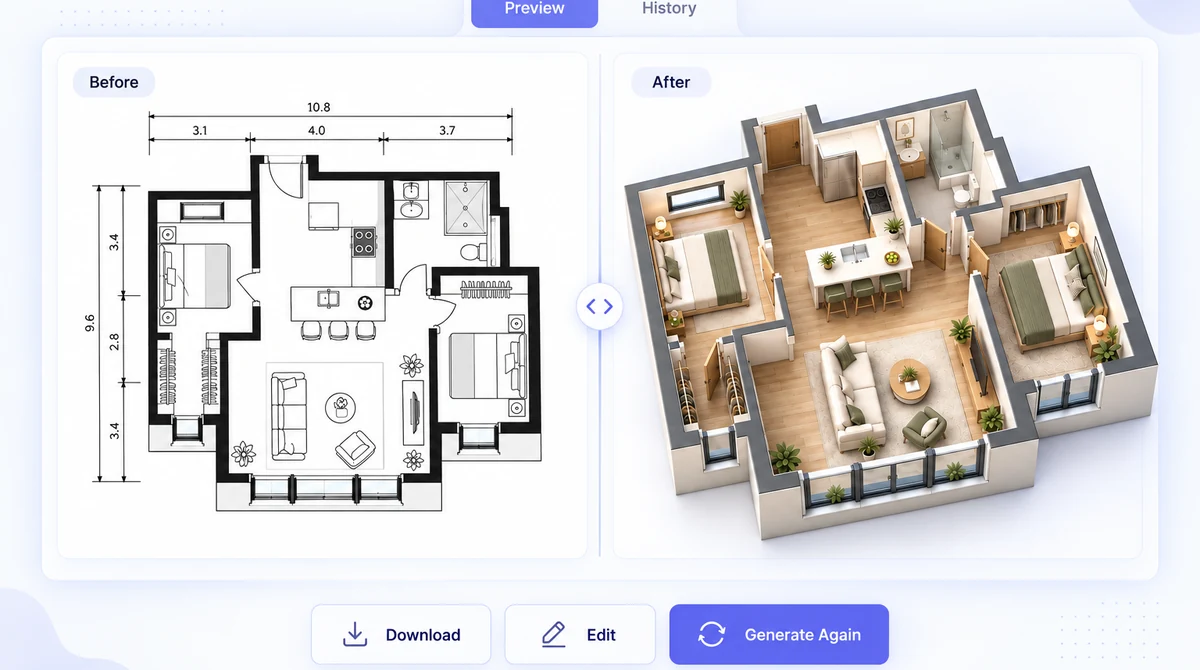
Generate, Compare, and Download
Complete the floor plan to 3D process, then compare the generated visualization with your original plan. Download the result, revisit previous versions in History, or open the image in Floor Plan Editor to make further adjustments.
Why Convert a 2D Floor Plan to 3D?
The floor plan to 3D converter creates an easy-to-understand visualization without requiring you to rebuild the layout in traditional 3D modeling software.
Start with the Plan You Already Have
Upload an existing floor plan instead of recreating the layout from the beginning. The floor plan to 3D workflow starts with a source you already understand, whether it is a clean digital drawing, a scanned plan, or an exported layout image. Before generation, the crop step helps remove margins, notes, legends, and unrelated areas that could distract from the rooms you want to visualize in 3D.
Control the Look of the Result
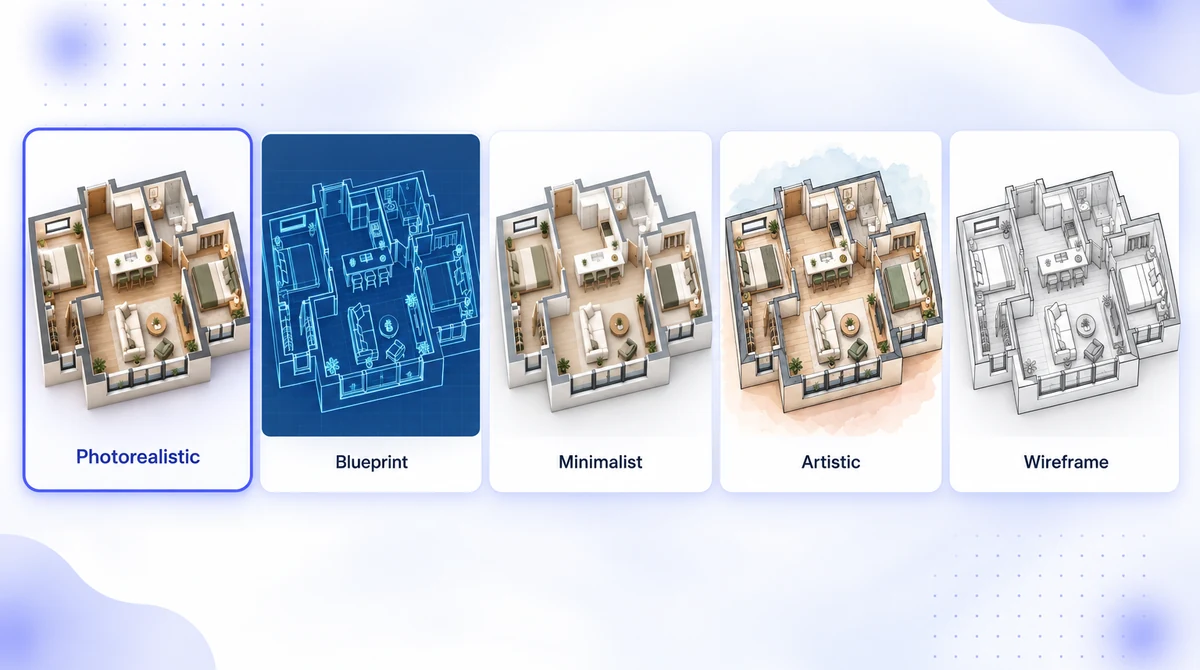
The floor plan to 3D workflow gives you several ways to control the final appearance. Choose from photorealistic, architectural blueprint, modern minimalist, artistic interpretation, and wireframe styles. Each option changes how the same spatial information is presented. Add optional instructions for furniture, colors, materials, lighting, or specific areas you want to highlight.
Show the Space from a Useful Angle
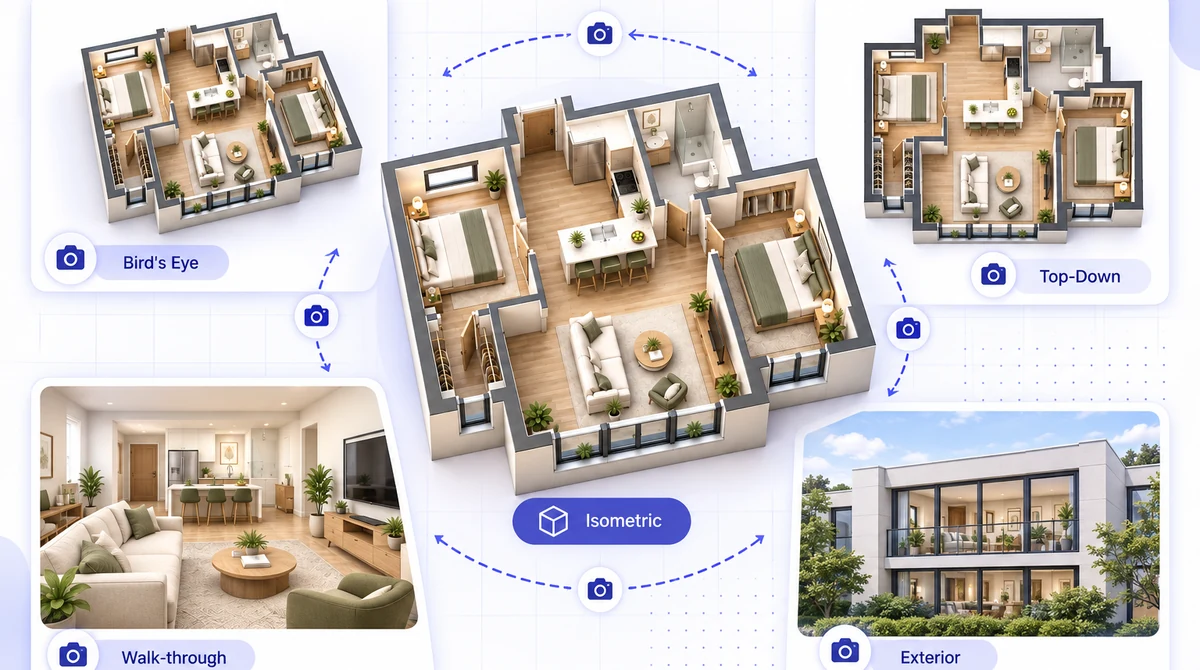
Use bird's-eye, top-down, isometric, walk-through, or exterior views to emphasize different parts of the design. Different view angles let you highlight the overall layout, room connections, or the intended look of the space.
Continue Refining the Image
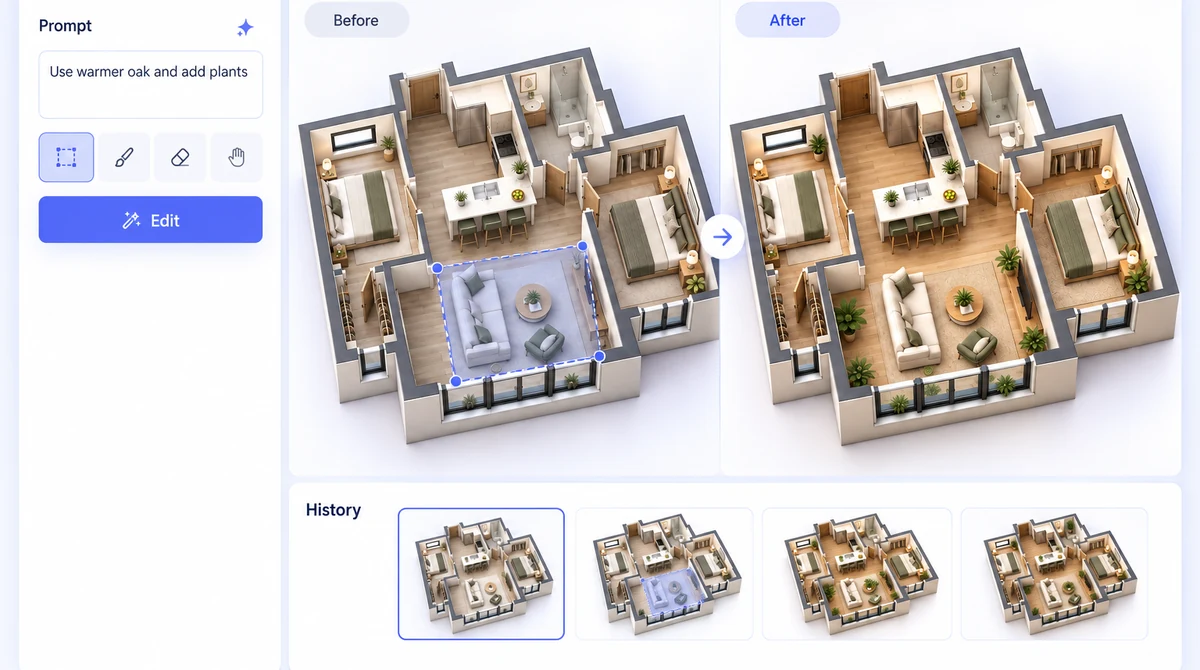
The result area keeps the original plan available for visual comparison. Completed images are also available in History. When a result needs another image-level adjustment, open it in Floor Plan Editor and continue refining the presentation without interrupting the floor plan to 3D workflow.
Ways to Use a 3D Floor Plan
A 3D floor plan can make an existing layout easier to understand, while the floor plan to 3D process makes it easier to explore, discuss, and present different ideas.
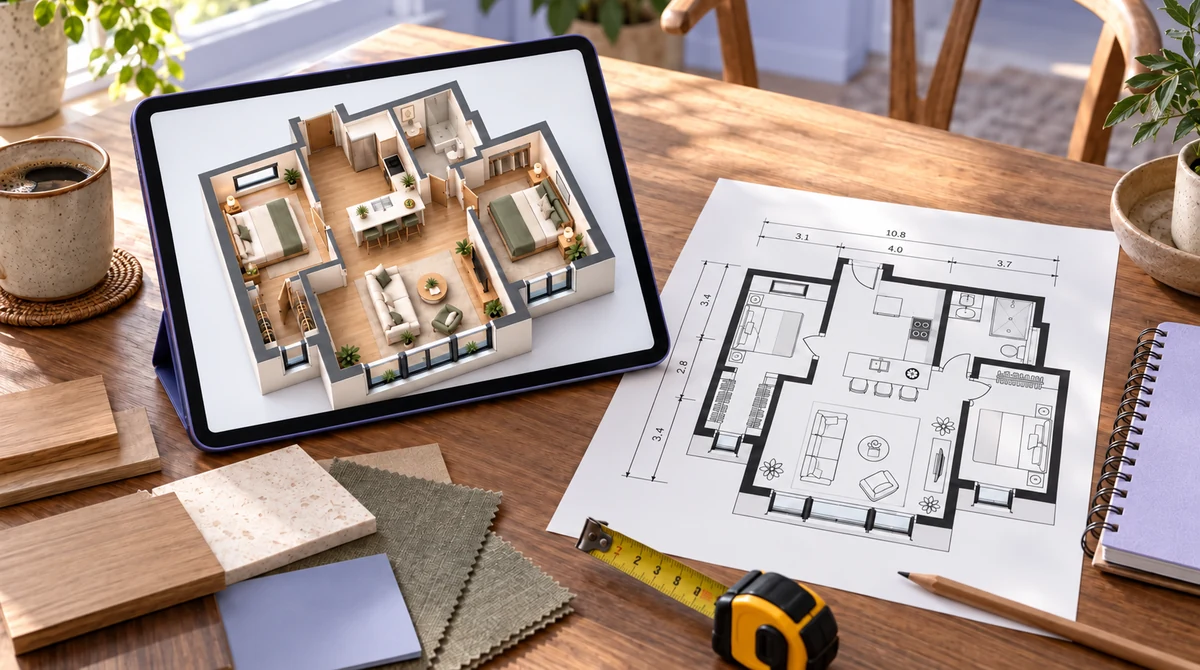
Homeowners Planning a Renovation
Turn a current 2D plan into a furnished 3D view to explore room connections, circulation, finishes, and furniture placement before renovation work begins.
Visualize Your Layout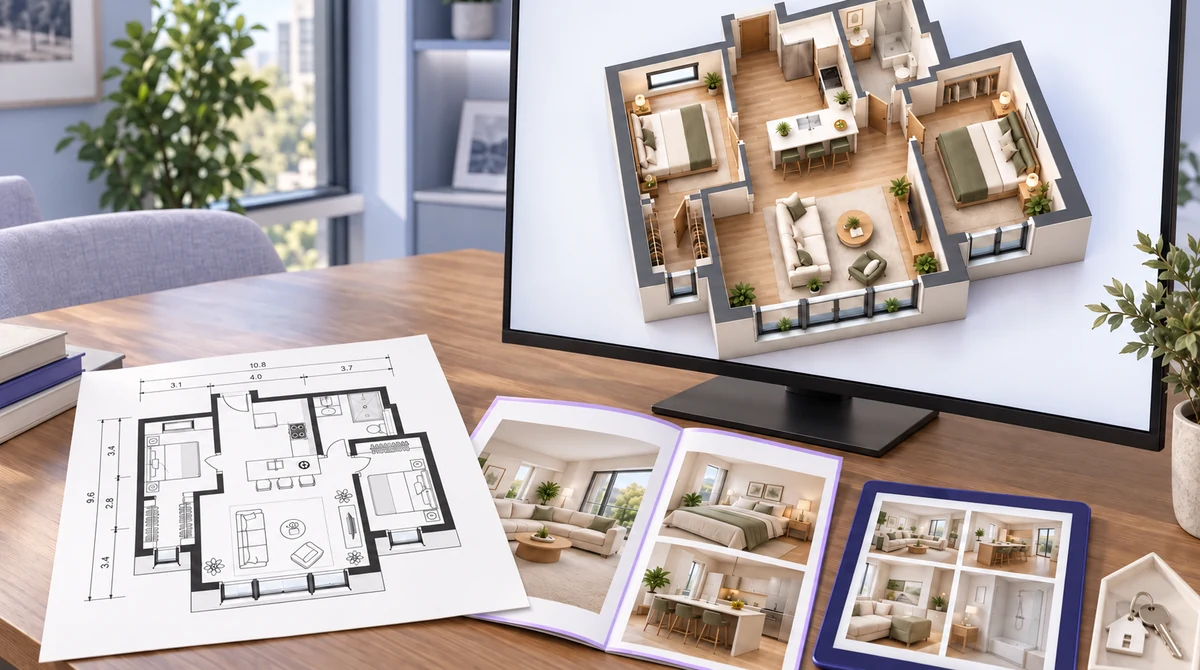
Real Estate Listings and Presentations
Help buyers and tenants understand how rooms connect. A floor plan to 3D conversion can complement property photographs and the original 2D plan by showing the overall organization of a home in one image.
Visualize Your Layout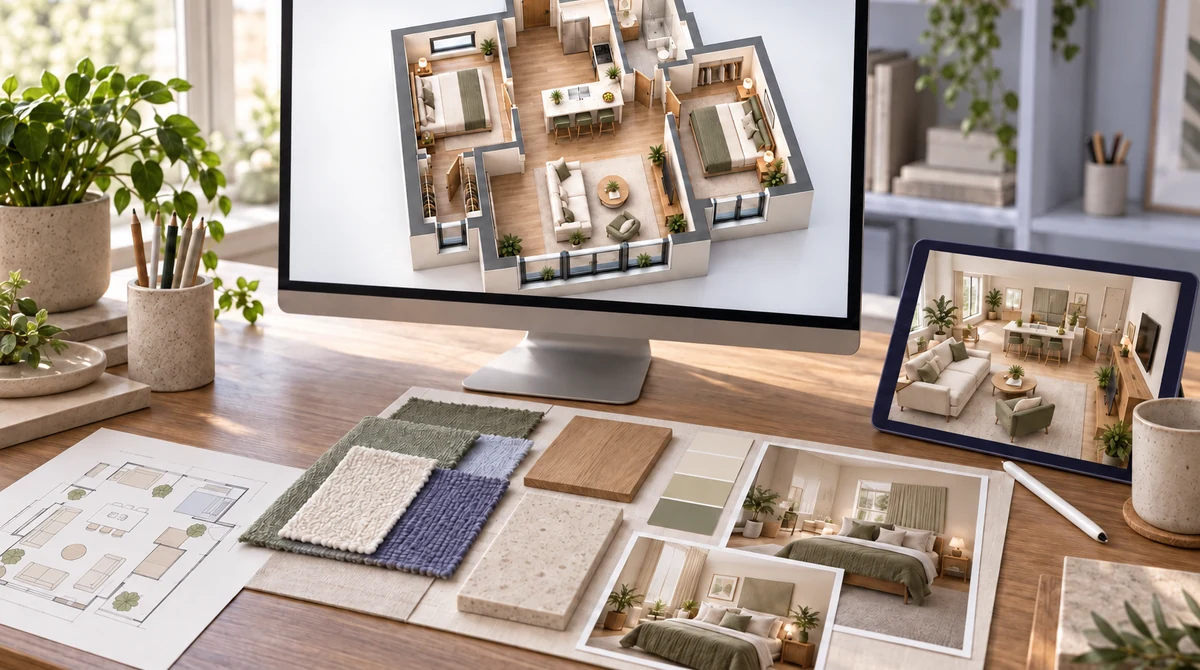
Interior Design Concept Reviews
Use rendering styles, backgrounds, and optional material instructions to explore an early visual direction. The floor plan to 3D converter can help communicate furniture zoning, color direction, and the intended atmosphere of key rooms.
Visualize Your Layout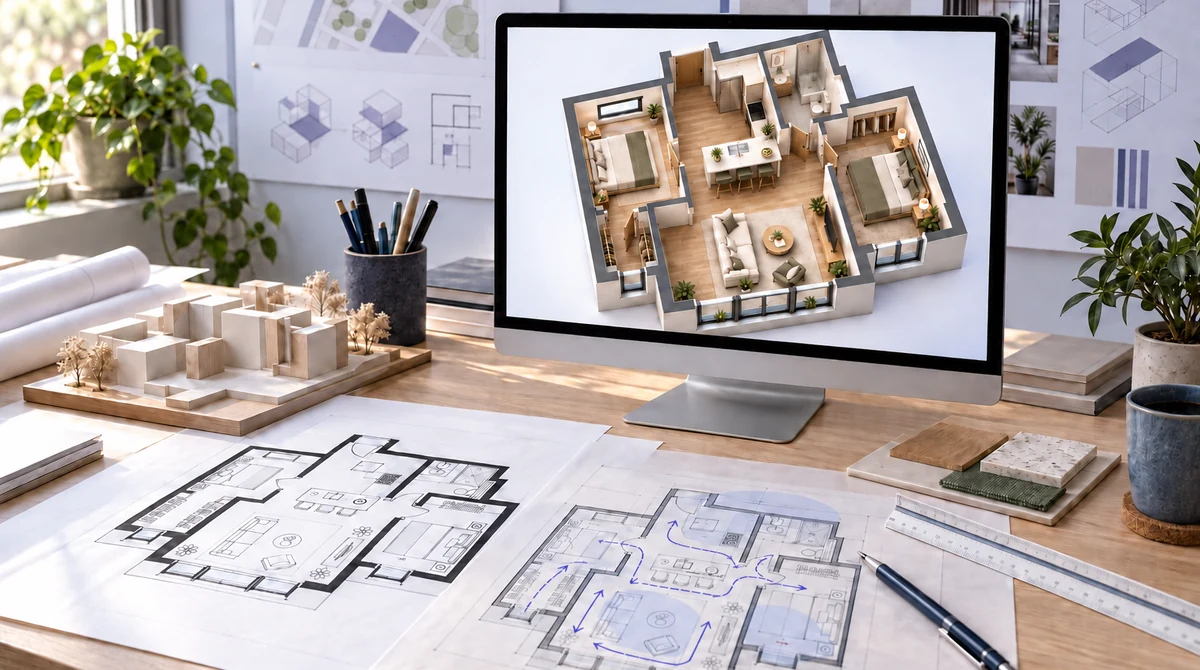
Architecture and Design Studies
Create a polished 3D view for studio discussions, early concept boards, or layout comparisons. A floor plan to 3D preview can help students and design teams discuss hierarchy, circulation, furnishing, and presentation choices.
Visualize Your LayoutWhat People Say About This Floor Plan to 3D Tool
From homeowners to design professionals, see how different users apply the floor plan to 3D workflow to create clearer visuals for planning, presentation, and early concept discussions.

Buyers often struggle to understand a property from a flat black-and-white plan. A 3D floor plan gives me a more approachable visual for listing presentations. Keeping the original plan beside the generated image also makes it easier to explain both the layout and the overall character of the space.

The rendering styles and additional instructions are especially helpful during early concept reviews. I can specify a material direction, furniture mood, or focal room, then generate an image that helps clients respond to the concept before we move into detailed design work.

Turning a 2D plan into an isometric or bird’s-eye rendering helps me communicate studio concepts more clearly. I can compare different presentation styles, revisit previous results in History, and use the most effective image in a concept board without building a complete 3D model first.

Many homeowners understand images more easily than technical drawings. I upload their existing plan, crop out notes and empty margins, and create a clean 3D visualization for our first meeting. It makes conversations about room flow, furniture placement, and finishes much more focused.

I like how the floor plan to 3D workflow keeps the original floor plan available as a reference while generating a more polished image for presentations. If the first result doesn’t match the direction I need, I can adjust the view angle, background, or rendering style and generate another version.

Floor Plan to 3D FAQs
Answers about inputs, outputs, customization, and what this converter creates.
Upload a clear 2D floor plan, crop it, choose a rendering style, view angle, background, and model, then select Generate. The floor plan to 3D tool creates a 3D result that you can compare, download, or continue editing.
You can upload one JPG, JPEG, PNG, or WebP image up to 10 MB. You can select a file, drag and drop it, or paste an image from your clipboard.
Yes. You can choose a rendering style, view angle, background, and model, then add optional instructions for furniture, colors, materials, or a specific room.
Choose Bird's Eye View, Top-Down, Isometric, Walk-through, or Exterior View.
For better floor plan to 3D results, use a clear, well-cropped source image and select the style, angle, and background that best match your goal. Add specific requirements, then generate another version when you want to explore a different direction.
Each generation creates one image. To explore another style, angle, background, or instruction, update the settings and generate again. Previous results are available in History.
No. The result is an AI-generated visualization based on your uploaded floor plan and selected settings. It is intended for design exploration and presentation, not as a dimensionally accurate CAD or BIM model, construction drawing, or substitute for professional architectural documentation.
See Your Floor Plan in 3D
Upload a clear 2D floor plan, choose how you want the result to look, and generate a 3D visualization for planning, review, or presentation.
Convert Your Floor Plan to 3D